
Children’s artwork is truly special. Each smudge of a brush stroke, swirl of the crayon, and smatter of paint speaks to their energy and imagination. But too often they accumulate in drawers, on refrigerators, or are stored away where they receive little else. The emotional importance remains intact, but the visual clutter makes parents question how to have them become part of the home as a work of art.
Layered art is the solution—taking these raw creations and refining them into textured, sophisticated works deserving of a proud place on your wall. Through the combination of your child’s work with mixed media, overlapping forms, and depth-producing methods, you are able to produce a piece that is both meaningful and aesthetically appealing. Not only does this technique retain memories, but it also incorporates them into your décor with no one being the wiser. The process is fun, intuitive, and surprisingly easy to learn with the proper instruction.
Why Layered Art Thrives in a Home with Family
Layered art has a unique place in home decor because it harmonizes emotion with aesthetics. It preserves the spontaneity of a child’s painting and unites it with deliberate visual composition so that the artwork is emotionally resonant and visually beautiful. This is not about hiding the original work—it’s about providing it with a new stage upon which to stand out. It’s a joint endeavor that makes families closer and their home more personal for most. The versatility means it can be incorporated into almost any design.
Sentimental Value Meets Style
Children’s work is spontaneous and emotional. But the informality is generally incompatible with formal decor. Layering maintains the integrity of the art as well as introducing composition, harmony, and color balance so it can sit easily beside other pieces of art or furniture.
Versatility Across Styles
No matter the style your home leans towards, clean minimalism, eclectic flair, or country charm, layered art can be adapted. A dramatic, industrial-strength abstract can be placed against stark black for a modern aesthetic, while an industrial relic piece could suit a more relaxed space.
Depth and Dimension
Piling up different papers, fabrics, or paint effects achieves a sense of physical depth within the painting. This gives it a dynamic life, which it reflects light in different ways upon its surfaces and lures the eye of the viewer.
Sustainable Creativity
Reusing old artwork, old fabric scraps, or old craft paper eliminates waste and sparks fresh ideas. It’s an eco-friendly way of preserving creativity without frequent shopping at the craft store.
Bonding Through Creation
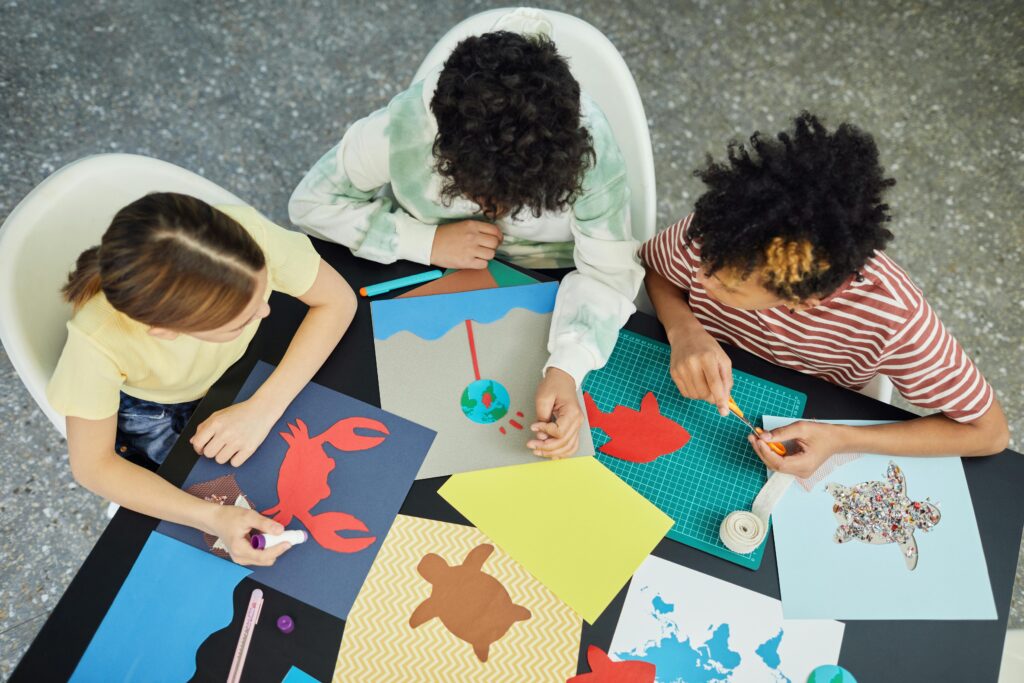
Involving children in layering projects lets them see their own work evolve. It boosts their confidence and helps them value art as more than a disposable activity.
Step-by-Step Guide to Creating Layered Art
Creating layered art is less about following rigid rules and more about embracing experimentation. While there’s no single formula, having a clear structure can make the process smoother—especially if you’re working with young helpers. The magic is in bringing the planned with what is happy accident together. A smudge may be a shadow; an off-edge is where the piece’s charm lies. These are guidelines to allow you to take diverse pieces of artwork and make them a cohesive, professional-quality work without diminishing the original piece.
1. Collect Your Foundation Materials
Choose children’s artwork that is in colors or shapes of interest.
Collect leftover materials:
- Cardstock or textured paper
- Fabric scraps
- Ribbon or yarn
- Used magazines or patterned gift wrap
- Select a background: canvas, wood panel, or watercolor paper.
2. Sketch Out Your Layers
- Loosely arrange your materials prior to applying glue or paint to paper.
- Plan in three zones: background, middle ground, and foreground.
- Employ tracing paper overlays in attempting compositions.
- Limit a palette of colors—two or three bold colors create cohesion in the work.
3. Build the Background
- The background is the foundation and sets the mood.
- Use a pale acrylic wash or watercolor to unify the space.
- Use a cropped section of the child’s art as the background layer.
- Optional: stencil outlines or paint light splatters for depth.
4. Add Middle Layers
- Middle layers provide the greatest visual pop.
- Foam mounting squares for a small lift.
- Rip paper edges instead of cutting for a natural edge.
- Layer fabric strips, geometric paper cutouts, or pieces of other paintings.
5. Top Details
- The front layer should contain the most delicate or striking details.
- Draw some sketches from the original piece using a metallic pen.
- Add thread embroidery, dried flowers, or small fabric pieces.
- Avoid too many details on top to make the piece not too visually weighted.
6. Finishing Touches
- Spray with matte or gloss varnish to make it dust- and fading-resistant.
- Mount inside a floating frame or shadow box to achieve depth emphasis.
- Mark quietly with the child’s name and date to take credit for its inception.
Styling & Display Tips for Your Layered Masterpiece
Presentation is key when your layered art is complete. A well-framed piece in the proper spot can make it be received differently. Placement, pairing, and rotation keep the art fresh and relevant in your home. These style recommendations focus on optimizing your creation, having it shine for the proper reasons. By incorporating display as portion of the artwork itself, you are able to keep the piece retaining the feel active within your home rather than autonomous or lost.
Discovering The Best Display Location
- Entryway: Has immediate impact.
- Living Room: Is gorgeous as part of the gallery wall.
- Children’s Room: Makes them proud of having their artwork showcased with care.
Pairing with Other Pieces
- Place with monochrome family portraits to make colors pop.
- Pair with other textured art, e.g., woven wall hangings.
Seasonal Rotations
- Switch pieces seasonally—autumn tones in autumnal months, brights in summer.
- Create a “rotation wall” so art can rotate without continually re-hanging frames.
Gift Potential
Layered art makes meaningful presents. Grandchildren and grandparents generally appreciate these unique pieces so much more than anything bought, and the texture and framing that follow create something worth hanging.
Conclusion
Layered art occupies the gap between nostalgia and modern style. By reconceptualizing kids’ art as structured, textured art, families can preserve their histories in a manner that is both meaningful and lasting. The process elicits the creativity, sustainability, and connection—both to the art and the artists behind it. Whether on display in a hectic living room or being handed as a gesture of love, these pieces of art carry with them a story that no mass-produced work of art could possibly express. The initial step is simple: unearth those sketches and start layering.