
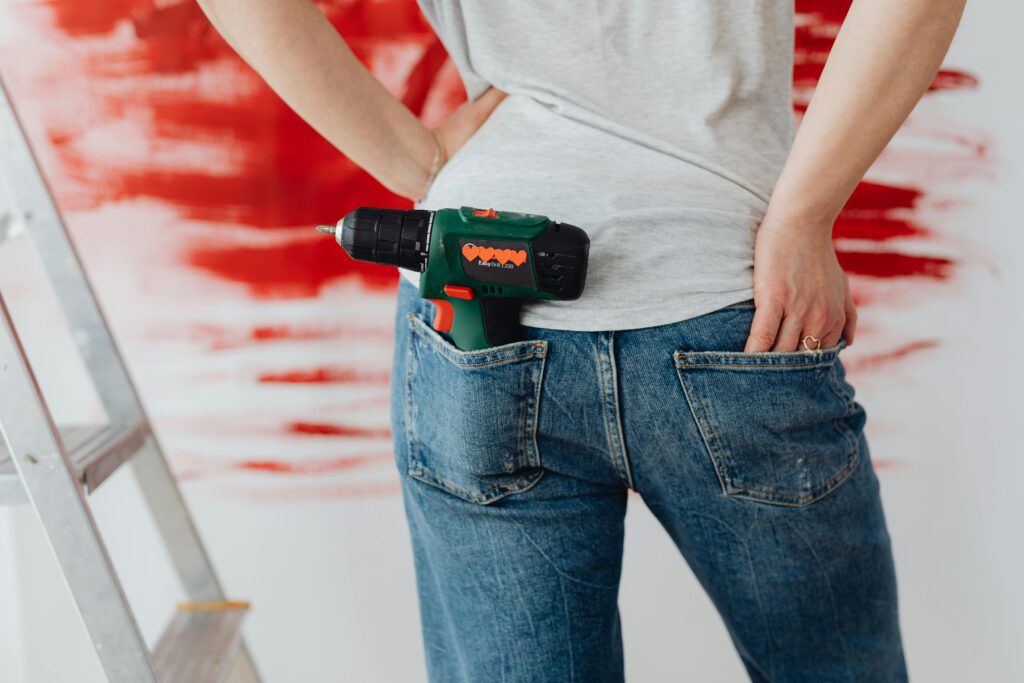
So, I’ve recently found myself saying the words, “How hard can it be?” more than is probably wise. This time, it was about insulating my loft. I’ve been putting it off for ages—partly because crawling around up there sounded miserable, and partly because I had no clue what kind of insulation I even needed.
But after yet another winter energy bill that made my wallet cry, I finally bit the bullet and decided to go full DIY mode.
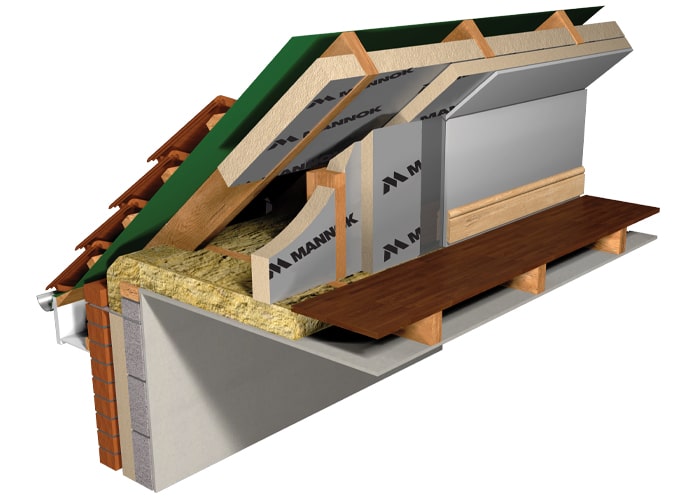
The Game Changer: PIR Insulation Boards
After doing some proper Googling (and a lot of YouTube rabbit holes), I came across PIR insulation boards. Let me tell you, these things are miles better than the fluffy roll stuff I used years ago in another house.
They’re rigid, easy to cut (I’ll get to that in a second), and most importantly—they actually work. I noticed the loft was warmer immediately after putting them in, which has made a huge difference already.
Sizes, Prices & Delivery
What I liked straight off the bat was that Nationwide Supplies offers a range of sizes, which meant I didn’t have to faff around trying to shave down huge boards to fit weirdly shaped spaces.
- Sizes: Standard ones are 2400mm x 1200mm, and thicknesses range from 25mm up to 150mm depending on how hardcore your insulation needs are.
- Prices: They’re decent—starting from around £12–£13 a board, which felt fair considering how solid they are.
- Delivery: Big plus—they deliver across the UK, and the process was smooth. Boards came wrapped, not battered, and on time (which is rare in the world of home DIY, let’s be honest).
You can check out their full range of insulation board from Nationwide Supplies here.
The Actual DIY Bit (AKA: Things I Learned the Hard Way)
1. Measure Twice, Cut Once. Seriously.
I thought I could eyeball a few of the cuts. Big mistake. These boards are rigid (which is a plus), but that also means no squishing them into place if they’re even slightly off. I ended up having to go back and recut a couple, wasting some time and patience.
Tip: Use a straight edge and a fine-tooth saw (or a utility knife for thinner boards) for clean cuts.
2. Safety First, Even If It’s a Bit OTT
Wear gloves. Wear a mask. Wear goggles. You don’t want PIR dust in your eyes or lungs—trust me. I got lazy halfway through and had itchy skin for days.
3. Use the Right Adhesive or Fixings
You can stick them in with insulation board adhesive or mechanically fix them, depending on your walls or loft joists. I used adhesive in the loft and it worked like a charm.
4. Seal the Gaps
Use insulation tape or expanding foam around the edges. The boards work great, but if there are big air gaps, you’ll lose heat—and all that effort goes to waste.
Was It Worth It?
Absolutely. I spent a weekend covered in dust, but I’ve now got a toasty loft and I’m already seeing a drop in my heating usage. If you’re even slightly handy with a saw and a tape measure, this is a DIY job you can 100% tackle yourself.
It’s oddly satisfying too—standing back and looking at your neatly fitted insulation boards, knowing you did it all without paying a contractor a small fortune.
TL;DR: If you’re thinking of insulating your loft or walls, I highly recommend checking out the insulation board from Nationwide Supplies. Great sizes, good prices, and delivered straight to your door. Plus, there’s something pretty empowering about doing it yourself—especially when the results show up on your energy bill.
Happy DIY-ing! Let me know if you try it—I’d love to hear your success (or chaos) stories.